


Look, you've been thinking about upgrading your suspension for a while now, and installing coilovers is hands down one of the most satisfying mods you can tackle. It's like the difference between wearing flip-flops and proper running shoes. Your car will thank you, and honestly, you'll wonder why you waited so long.
Why Coilovers Are Actually Worth Your Hard-Earned Cash

Here's the thing - most people think coilovers are just for show-offs with slammed cars. That's totally untrue. Whether you're trying to improve your daily commute handling or just want your car to feel more connected to the road, coilovers give you control that factory stuff simply can't match.
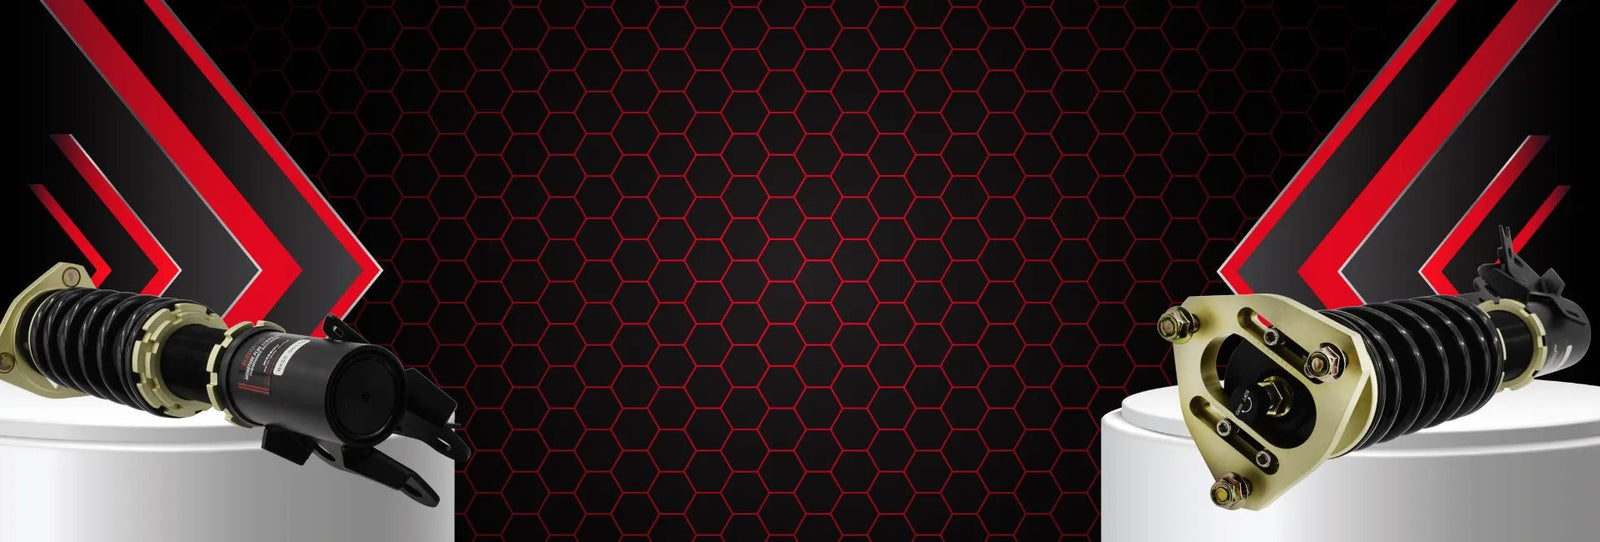
Take something like the BLOX Racing Plus Series Pro Coilovers - 06-11 Civic. These aren't your typical "stance nation" coilovers; they're built for folks who want that perfect balance between performance and daily drivability. With a fully adjustable 32-way damping system, you get precise control over your suspension tuning, which greatly increases high-speed stability and overall ride comfort.
What You'll Need (And What You Can Probably Skip)
The Must-Haves
-
Floor jack and jack stands (don't be that person who uses sketchy equipment)
-
Socket set and wrenches
-
Spring compressor (only if your setup needs it)
-
Torque wrench
-
Measuring tape
-
Corner weight scales (nice to have, but not essential)
Safety Stuff
-
Safety glasses
-
Work gloves
-
Good lighting (trust the process on this one)
Real talk. Some cars need specific modifications. Honda Civic owners from 88-00 will need shim spacers for EK fitment. If you're rolling an Integra (94-01 Non Type-R), you'll need front EG forks and some brake line work. It's not rocket science, but it's worth knowing upfront.
The Installation Process: Less Scary Than You Think

You don't need to be a master mechanic to pull this off. Start by parking on level ground and getting your car properly supported. Remove the wheels and take some photos of your factory setup, and future you will appreciate this when you're trying to remember where everything goes.
Once you've disconnected the sway bar links, brake lines, and ABS sensors, removing the factory struts is pretty straightforward. The mono-tube design on quality coilovers makes installation way easier than the old-school twin-tube stuff. Just reverse the removal process, torque everything to spec, and you're golden.
Setting Your Ride Height: The Foundation That Actually Matters
Your ride height affects everything from how your car looks to how it performs. Too low and you'll be scraping on every speed bump; too high and you'll look like a monster truck. Finding that sweet spot is where the magic happens.
With the BLOX Racing Plus Series Pro system, you can use the threaded spring perch to get full height adjustability. This is perfect for the daily driver looking for improved handling without compromising comfort or practicality. Measure from the ground to consistent points on your chassis. The wheel well lip or rocker panel works great.
The Complete Preload Setup Process
Getting preload right is crucial for optimal performance and comfort. Here's the detailed step-by-step process that actually works:
Step 1: Prepare Your Workspace. Make sure your car is on level ground with the coilovers installed but not yet supporting the vehicle's weight. You want to be able to access the lower spring perch easily.
Step 2: Find True Zero Preload. Back off the lower spring perch (turn counterclockwise) until you can physically lift the spring and feel it move freely by hand. You should be able to wiggle it slightly in all directions. This is your true zero preload position. Mark this spot or count the threads so you have a reference point.
Step 3: Establish Initial Contact. Slowly tighten the lower spring perch (clockwise) until the spring just makes solid contact with both the upper and lower seats. You'll feel the resistance change when the spring seats properly. At this point, you should not be able to move the spring by hand, but it shouldn't feel compressed either.
Step 4: Apply Working Preload. From the initial contact point, add approximately 3-5 mm (about 1-2 full turns, depending on thread pitch) of additional preload. This is your working preload, which is enough to keep everything seated during normal driving without over-stressing the spring.
Step 5: The Critical Test. Lower the car and let it settle to its normal ride height. Bounce each corner a few times to let the suspension cycle. Now comes the real test: jack up each corner until the wheel just lifts off the ground. The spring should still be seated and under slight compression. If it goes loose or separates from the perches, you need more preload.
Step 6: Fine-Tune Through Driving. Take the car for a test drive over various road surfaces. Listen for any clunking or knocking noises, especially over bumps or during quick direction changes. If you hear noise, you likely need more preload. If the ride feels excessively harsh or bouncy, you might have too much preload.
Advanced Preload Considerations
Spring Rate Matters: Stiffer springs (higher spring rates) typically need less preload because they resist compression more. Softer springs might need slightly more preload to stay properly seated.
Driving Style Impact: If you're planning to do spirited driving or track days, err on the side of slightly more preload. The additional g-forces and suspension travel will test your preload settings more than daily commuting.
Seasonal Adjustments: Temperature changes affect spring tension slightly. In colder climates, you might need to check and adjust preload seasonally, especially if you notice any new noises or handling changes.
The "Finger Test": A good rule of thumb is that with the car at rest and settled, you should be able to slip your fingers between the spring coils, but the spring should feel firm and seated. If there's an excessive gap between coils, you likely have too much preload.
Thinking that more preload equals better performance. Less is often more when you're starting out.
Fine-Tuning Your Setup: Where the Real Fun Begins

This is where you get to play around and dial in your car's personality. Corner weight distribution might sound fancy, but it's basically making sure your car sits evenly and handles predictably. If you've got access to corner weight scales, use them. If not, a good eye and some test drives will get you most of the way there.
Start with conservative settings and work your way up. Make small adjustments, test drive, and repeat. Your car will tell you what it likes. You just need to listen. If your coilovers have adjustable dampers, start in the middle and go from there.
Common Mistakes You Need to Dodge
Don't Go Crazy with the Lowering
Yeah, slammed cars look cool, but if you can't drive over a quarter without scraping, you've gone too far. Excessive lowering causes tire wear and suspension damage that makes your car handle like garbage. Find the balance between form and function.
Get That Alignment Done
After installing coilovers, you absolutely need a professional alignment. Skipping this step is like buying expensive tires and then driving on rims - it defeats the whole purpose and costs you money in the long run.
Keeping Your Investment Happy

Check your coilovers monthly for leaks, damage, or loose hardware. It takes five minutes and can save you from bigger headaches down the road. Seasonal adjustments might be necessary depending on how you drive and where you live.
Consider professional servicing annually or after heavy track use. These aren't set-it-and-forget-it components; they need some love to keep performing at their best.
Your Next Move: Stop Overthinking and Start Wrenching
 Installing coilovers isn't as complicated as the internet makes it seem. Document your settings as you go, join some forums, and don't be afraid to experiment. The best setup is the one that works for how you actually drive your car.
The investment in quality coilovers and proper installation pays off every time you take a corner or hit the track. Your car will handle better, look better, and honestly, you'll have way more fun behind the wheel.
Read HERE to learn more coilover installation tips, or visit BloxRacing.com to find options for your car racing needs.